On-demand webinar coming soon I ABM in 2024: How it's changed đź‘€

Looker

Google Ads - Looker Studio Report

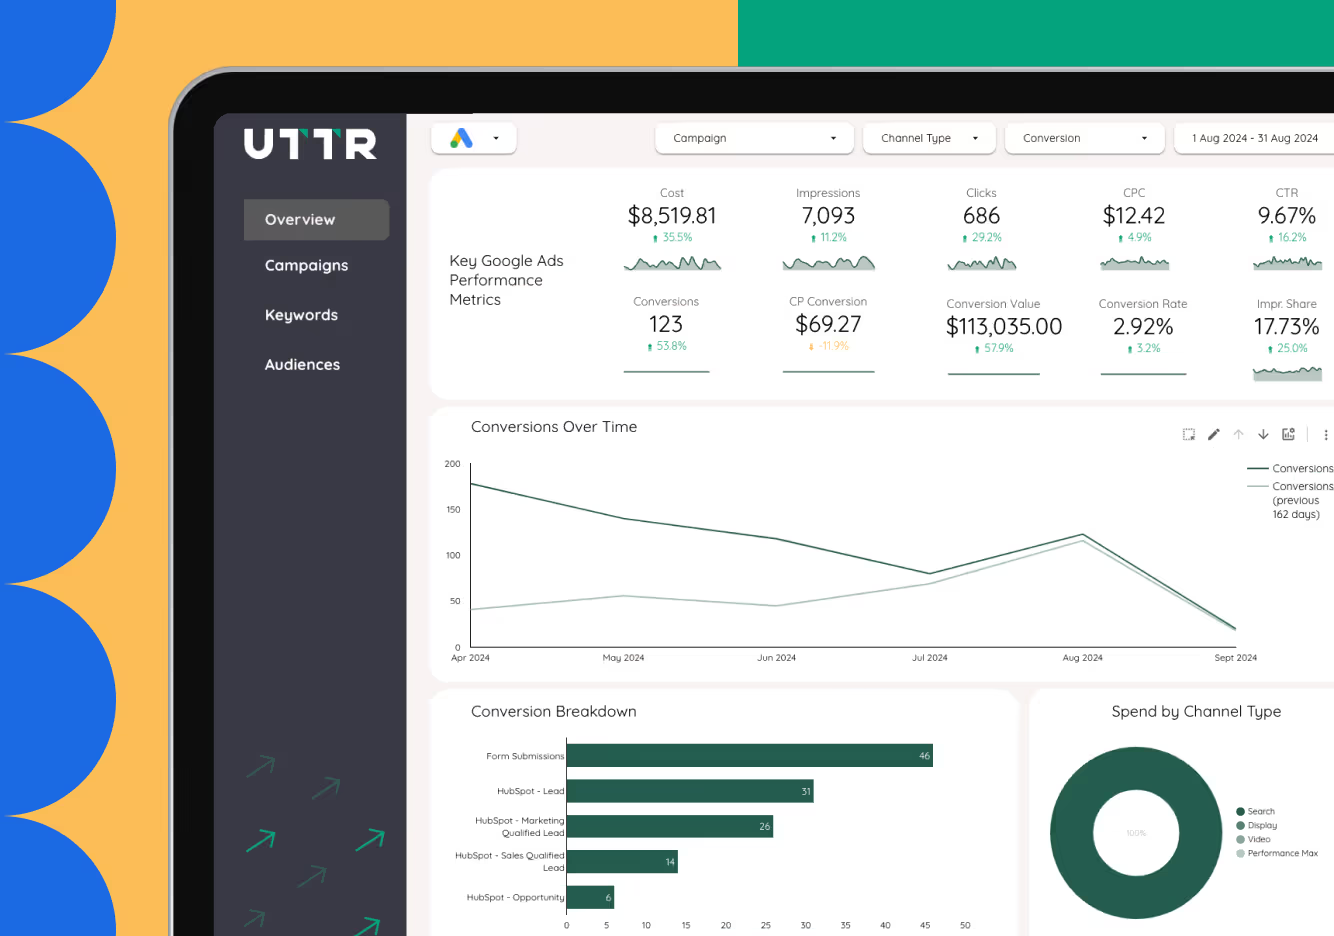
We used to spend hours navigating the Google Ads platform trying to gauge ad performance, so we created this simple report to pull in all of the most important metrics.

‍

Built to save marketers time and frustration by allowing them to focus on improving campaigns instead of just compiling data.
One time payment
$ 

Questions you can answer with our 

Google Ads Report

What are my top performing keywords?

This template has a full page dedicated to analyzing all active keywords by looking at their match type distribution, spend & number of conversions.

Am I targeting the right audience segments?

A variety of dimensions are used to break out the audience for more in-depth analysis. This includes audience names, types & demographics. All broken out further by device, against all key metrics.

How is my CPL trending over time?

Multiple time series charts are used across the report in order to effectively analyze performance results over time. There is also an option to drill down further into MoM, WoW or DoD.

Which channel is working best?

All pages have the option to be filtered by channel type, which includes Search, Display, Video & PMax.

How to start using the 

Google Ads Report

How to start using the Starter Tag Manager Container

How to start using the Starter Tag Manager Container

Finding your "Account ID"

Make sure you are signed into your Google account before starting. Head to Google Ads. Select the ad account. The "Account ID" is beside your profile picture in the top right corner, above your email address.

Step 1
Click the “Download” button.
Step 2
Enter the Google Ads "Account ID" of the account you wish to use.
Step 3
Click "Edit and share" in the top right hand corner.
Step 4
Click "Acknowledge and save" on the pop-up.
Step 1
Click the “Download” button.
Step 2
Enter the GA4 “account ID” & “property ID” of the analytics account you wish to use.
Step 3
Click “Edit and share” in the top right hand corner.
Step 4
Click “Acknowledge and save” on the pop-up.
Step 1
Click the "Download" button, right-click on the page and select "Save As".
Step 2
Navigate to the Tag Manager home page here.
Step 3
Create a new Tag Manager account.
Step 4
Create a new Tag Manager container.
Step 5
Under the "Admin" tab, select "Import Container" to upload the template.
Step 1
Click the "Download Now" button. You will receive a zip file containing the HTML email template(s). Unzip the file and open the "hubspot.html" file with any HTML editor.
Step 2
Login to Hubspot, on the navigation sidebar go to "Content", and then "Design Manager."
Step 3
Click the orange "Create a new file" button, choose "HTML + HubL" from the drop-down menu, choose "Email" from the "Template type' drop-down menu, and give the template a name and file location if needed. Click the orange "Create" button.
Step 4
Remove all pre-installed HTML code from the HubSpot window, go to the unzipped email template code and copy all HTML, paste the copied code into the blank HubSpot window. Click the orange "Publish changes" button.
Step 5
Navigate to "Marketing", then "Email" and click the orange "Create email" button to build a new email with one of your new custom templates.
Step 6
Choose an email type (usually "Regular"), find the uploaded template in the "Custom" tab, and name it. Now, you can edit the content.
Step 1
You will receive a confirmation email that your order has been received.
Step 2
Click on the link in that email and follow the prompts to grant UTTR the correct level of permissions and access to your Hubspot account.
Step 3
Once our temporary users have been created, we will drop the email templates and modules into your account within 24 hours (weekdays) | 72 hours (weekends).
Step 4
We will send you an email when this process is complete.
Step 5
Watch our quick tutorial videos for more tips and tricks to get the most out of your new templates.
Step 6
Remove us from your account and get back to creating brilliant emails.

Video Instructions

Accelerate your revenue OKRs with UTTR